Tower-Less, Sealed, Brakes and Brace
.JPG)
After having the front end blasted it was obvious that the right shock tower had to be replaced. Although likely a little more difficult than an all original tower, it wasn’t too hard to remove.
.JPG)
The battery apron had been brazed on so I simply cut the brazing just like a weld. Where I couldn’t get the cutoff wheel to the actual brazing, I cut the lip off the sheet metal and will have to melt the brazing off later I guess.
.JPG)
Top view of the engine bay with tower out. Still rather scary since I’ve never done this before but with the measurements taken and the export and EFI brace I have on hand I think I can get it back in right. The shock tower and battery apron are ordered from MustangsPlus.
.JPG)
The tower was a little harder to get out due to the extra welding on the tower from an accident in the 70’s but I was very happy with the condition of the frame rail. This car is very solid which I guess it should be considering I had kept it inside many years of it’s life.
.JPG)
Here are the spindles and new brakes ready to roll. These are 70-73 spindles with the larger bearings. The brakes are stock but should be fine for what I will be using the car for. Rear disc will be installed as well so between the two I’ll be happy.
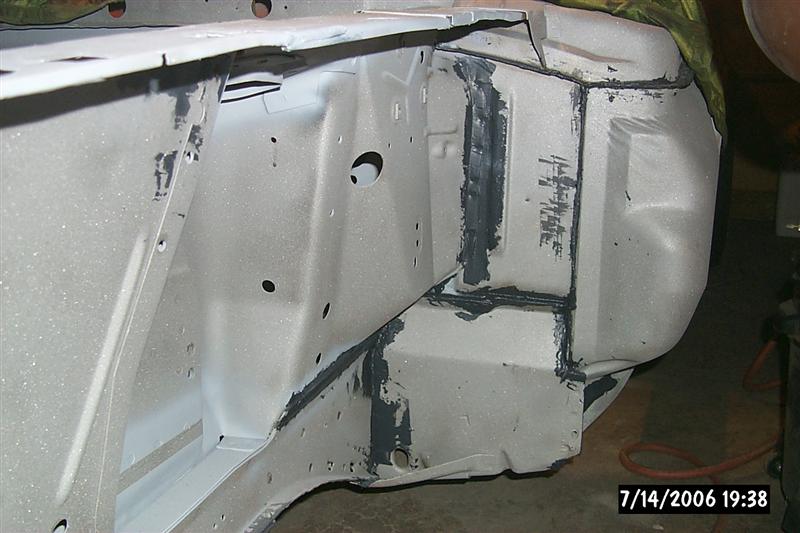
Meanwhile the drivers side is seam sealed and almost ready to undercoat. I sealed up all the main seams with seam sealer and will undercoat as soon as I weld in the final support bracket in the lower portion of the shock tower. That is why the taped off line is there for welding the angle brace.

I decided to modify the shock tower reinforcement kit a little since I wasn’t crazy about not being able to get behind the outer brace in the future to keep the grime and junk from accumulating. I simply laid out three holes and used the drill press to cut them. Looks better to me as well and I do not feel much strength has been compromised.
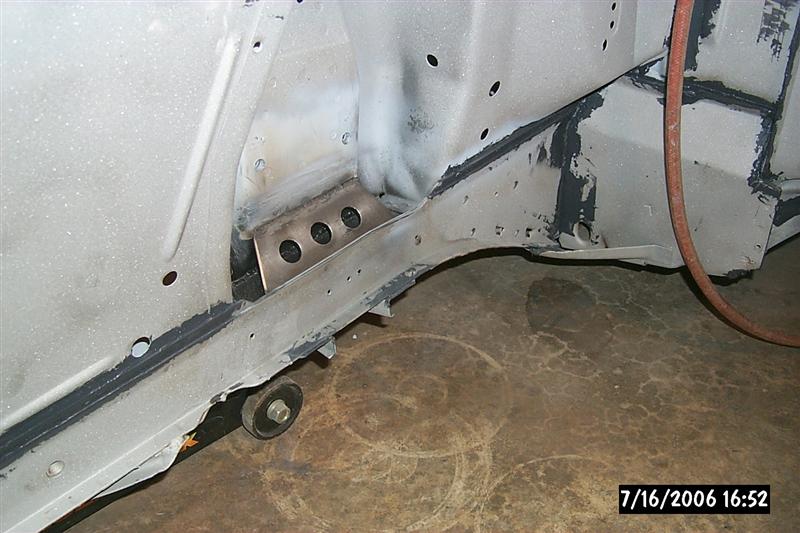
Here is a shot of the exterior brace welded up. I hope to undercoat this side very soon. Just need to fill a few more seams and it will be ready.
